Performance test with Gatling
Introduction:
Gatling is an open-source load testing tool written purely in Scala code.
The straightforward and expressive DSL that Gatling offers makes it simple to write load testing scripts.
It doesn’t contain a GUI (like say JMeter), although it does ship with a GUI to assist with recording scripts.
It can run a huge amount of traffic on a single computer, eliminating the need for complex distributed testing infrastructure.
The Gatling code check can be checked into a version control system, and easily used with Continuous Integration tools to run load and performance tests as part of your CI build.
Downloading:
Download gatling from = https://gatling.io/open-source/
Testing
Two types of testing:
By using HAR file = which is handled by recorder.sh file
By writing scripts = which is handled by gatling.sh file
Location for recorder.sh = cd gatling**/bin/
Location for gatling.sh = cd gatling**/bin/
Setup
Project build up
IntelliJ Idea , Scala and maven (Build tool )
Setup steps:
Open a terminal or command prompt and type: mvn archetype:generate
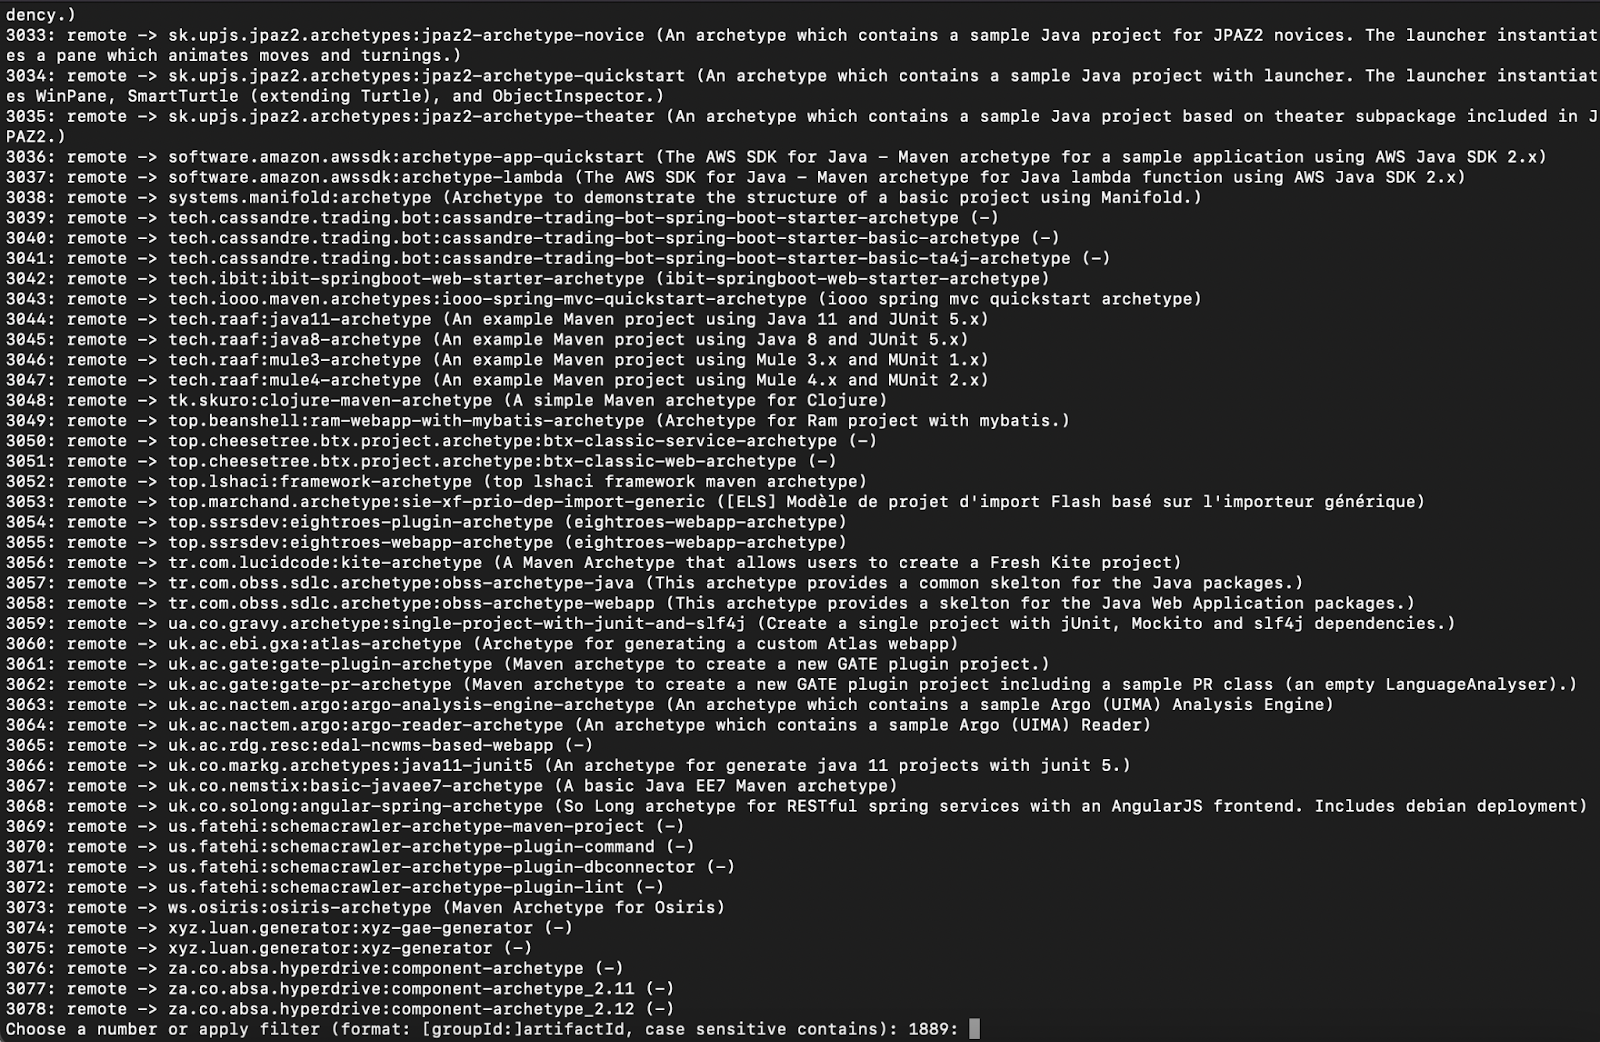
Eventually, you will see this prompt:
Choose a number or apply filter (format: [groupId:]artifactId, case sensitive contains):
Go ahead and type in gatling.
You should then see:
Choose archetype:
1: remote -> io.gatling.highcharts:gatling-highcharts-maven-archetype (gatling-highcharts-maven-archetype)
Simple type 1

I typed in 42 to choose version 3.6.1 for this tutorial.
For the groupId type in <NAME>
For the artifactId type <NAME>
For the version, simply press enter to accept 1.0-SNAPSHOT.
Finally for the package, press enter again to <NAME> as the package name.
Last of all type in Y to confirm all settings, and Maven will create a new project for you.

Mention the name of groupId , artefact
For version and package , just press enter.
You can see the project created inside the directory =>>> its mentioned above BUILD SUCCESS
The next thing to do is import this project into your IDE.
From the IntelliJ welcome page, select Import Project.

Testing By HAR file
Open Chrome Developer Tools, and click on the Network tab.
Click the Clear button to remove any previous network calls, and ensure that the red recording button is enabled.
Browse through the website to complete your user journey - for example, search for a computer, create a computer etc. You should see entries begin to populate inside the Network tab.
Right-click anywhere inside the Network, and choose Save all as HAR with content. Save the file somewhere on your machine.
Now, browse to your Gatling Bin Folder (where you first ran Gatling in the previous section) and run either recorder.sh on Mac/Unix or recorder.bat on Windows. The Gatling Recorder will load.
Change the Recorder Mode in the top right to HAR Converter.
Under the HAR File section, browse to the location of the HAR file you generated in step 5.
Give your script a name by changing Class Name to MyComputerTest
Leave everything else as default and click Start !
If everything goes OK, you should get a success message.
To run your script, return to the Gatling Bin folder and run the gatling.sh or gatling.bat file again. Once Gatling loads, you can select the script that you just created.
Note : you can find all the script you created inside gatling*/user-files/simulations
Testing By Writing script
Project structure Setup
Note: Need to set up Scala before anything else.
Make src as source root
Make Scala as test source root
Then run engine to see all the scripts that are already written
To create a new script , you will always create a class inside the Scala folder , which implements Simulation.
Common format :
Http configuration = endpoint with headers and metadata
Create Scenario:
Go to this page
Wait 5 seconds
Then go to this page
Then POST some data through a form ….. etc
Setup:
Load scenario
Note : Extend class from the Simulation class of the Gatling package, to make a Gatling script.
Assertion
Status code
Pause and run
Code Reuse (Loop)
Use feeder to feed data to api
Load increase and decrease
Load check with assertion
Check result in html page
Note : you can find all the script you created inside gatling*/bin/package/src/test/scala
Basic Example
Import statements
We added these two import statements at the top of the script:
import io.gatling.core.Predef._
import io.gatling.http.Predef._
These imports are where the Gatling packages get imported - they are both required for all Gatling scripts.
Extend Simulation
Next we extended our Scala class with the Gatling Simulation class:
class MyFirstTest extends Simulation {
Again, we must always extend from the Simulation class of the Gatling package, to make a Gatling script.
On to the actual code inside the class, and it is divided into 3 distinct areas:
HTTP Configuration
The first thing that we do is setup the HTTP configuration for our Gatling script.
The HTTP configuration for our class looks like this:
// 1 Http Conf
val httpConf = http.baseUrl("http://localhost:8080/app/")
.header("Accept", "application/json")
Here we are setting the baseUrl that will be used in all our subsequent API calls in the script.
We are also setting a default header of Accept -> application/json, which will also be sent in every call.
Other items can be set in the HTTP configuration.
SCENARIO Definition
The Scenario Definition is where we define our user journey in our Gatling script. These are the steps that the user will take when interacting with our application, for example:
Go to this page
Wait 5 seconds
Then go to this page
Then POST some data through a form
etc.
For our scenario definition in this script, we simply execute a single GET call to the video games endpoint. Note that this calls the full endpoint of http://localhost:8080/app/videogames , as we defined the baseUrl in the HTTP configuration above:
// 2 Scenario Definition
val scn = scenario("My First Test")
.exec(http("Get All Games")
.get("videogames"))
LOAD Scenario
The third and final part of the Gatling script is the Load Scenario. This is where we set the load profile (such as the number of virtual users, how long to run for etc.) for our Gatling test. Each of the virtual users will execute the scenario that we defined in part 2 above. Here, we are simply setting up a single user with a single iteration:
// 3 Load Scenario
setUp(
scn.inject(atOnceUsers(1))
).protocols(httpConf)
Basic Gatling script! We can run it by running the Engine class, and selecting the script went prompted:
These 3 parts form the basic makeup of all Gatling scripts, i.e.:
HTTP Configuration
Scenario Definition
Load Scenario


Comments
Post a Comment